Micro:bit Starter kit review
For this blog post, I will be reviewing “Microbit Programming Starter Kit Sensors Python with Mainboard” that I’ve received from Digitspace, a large seller of electronics for DIY and hobby.
They carry a large selection of Arduino, Raspberry Pi, Micro:bit and other kits, parts and accessories.
The link to the kit that I’ve received is here: Micro:bit kit from Digitspace.
First Impressions:
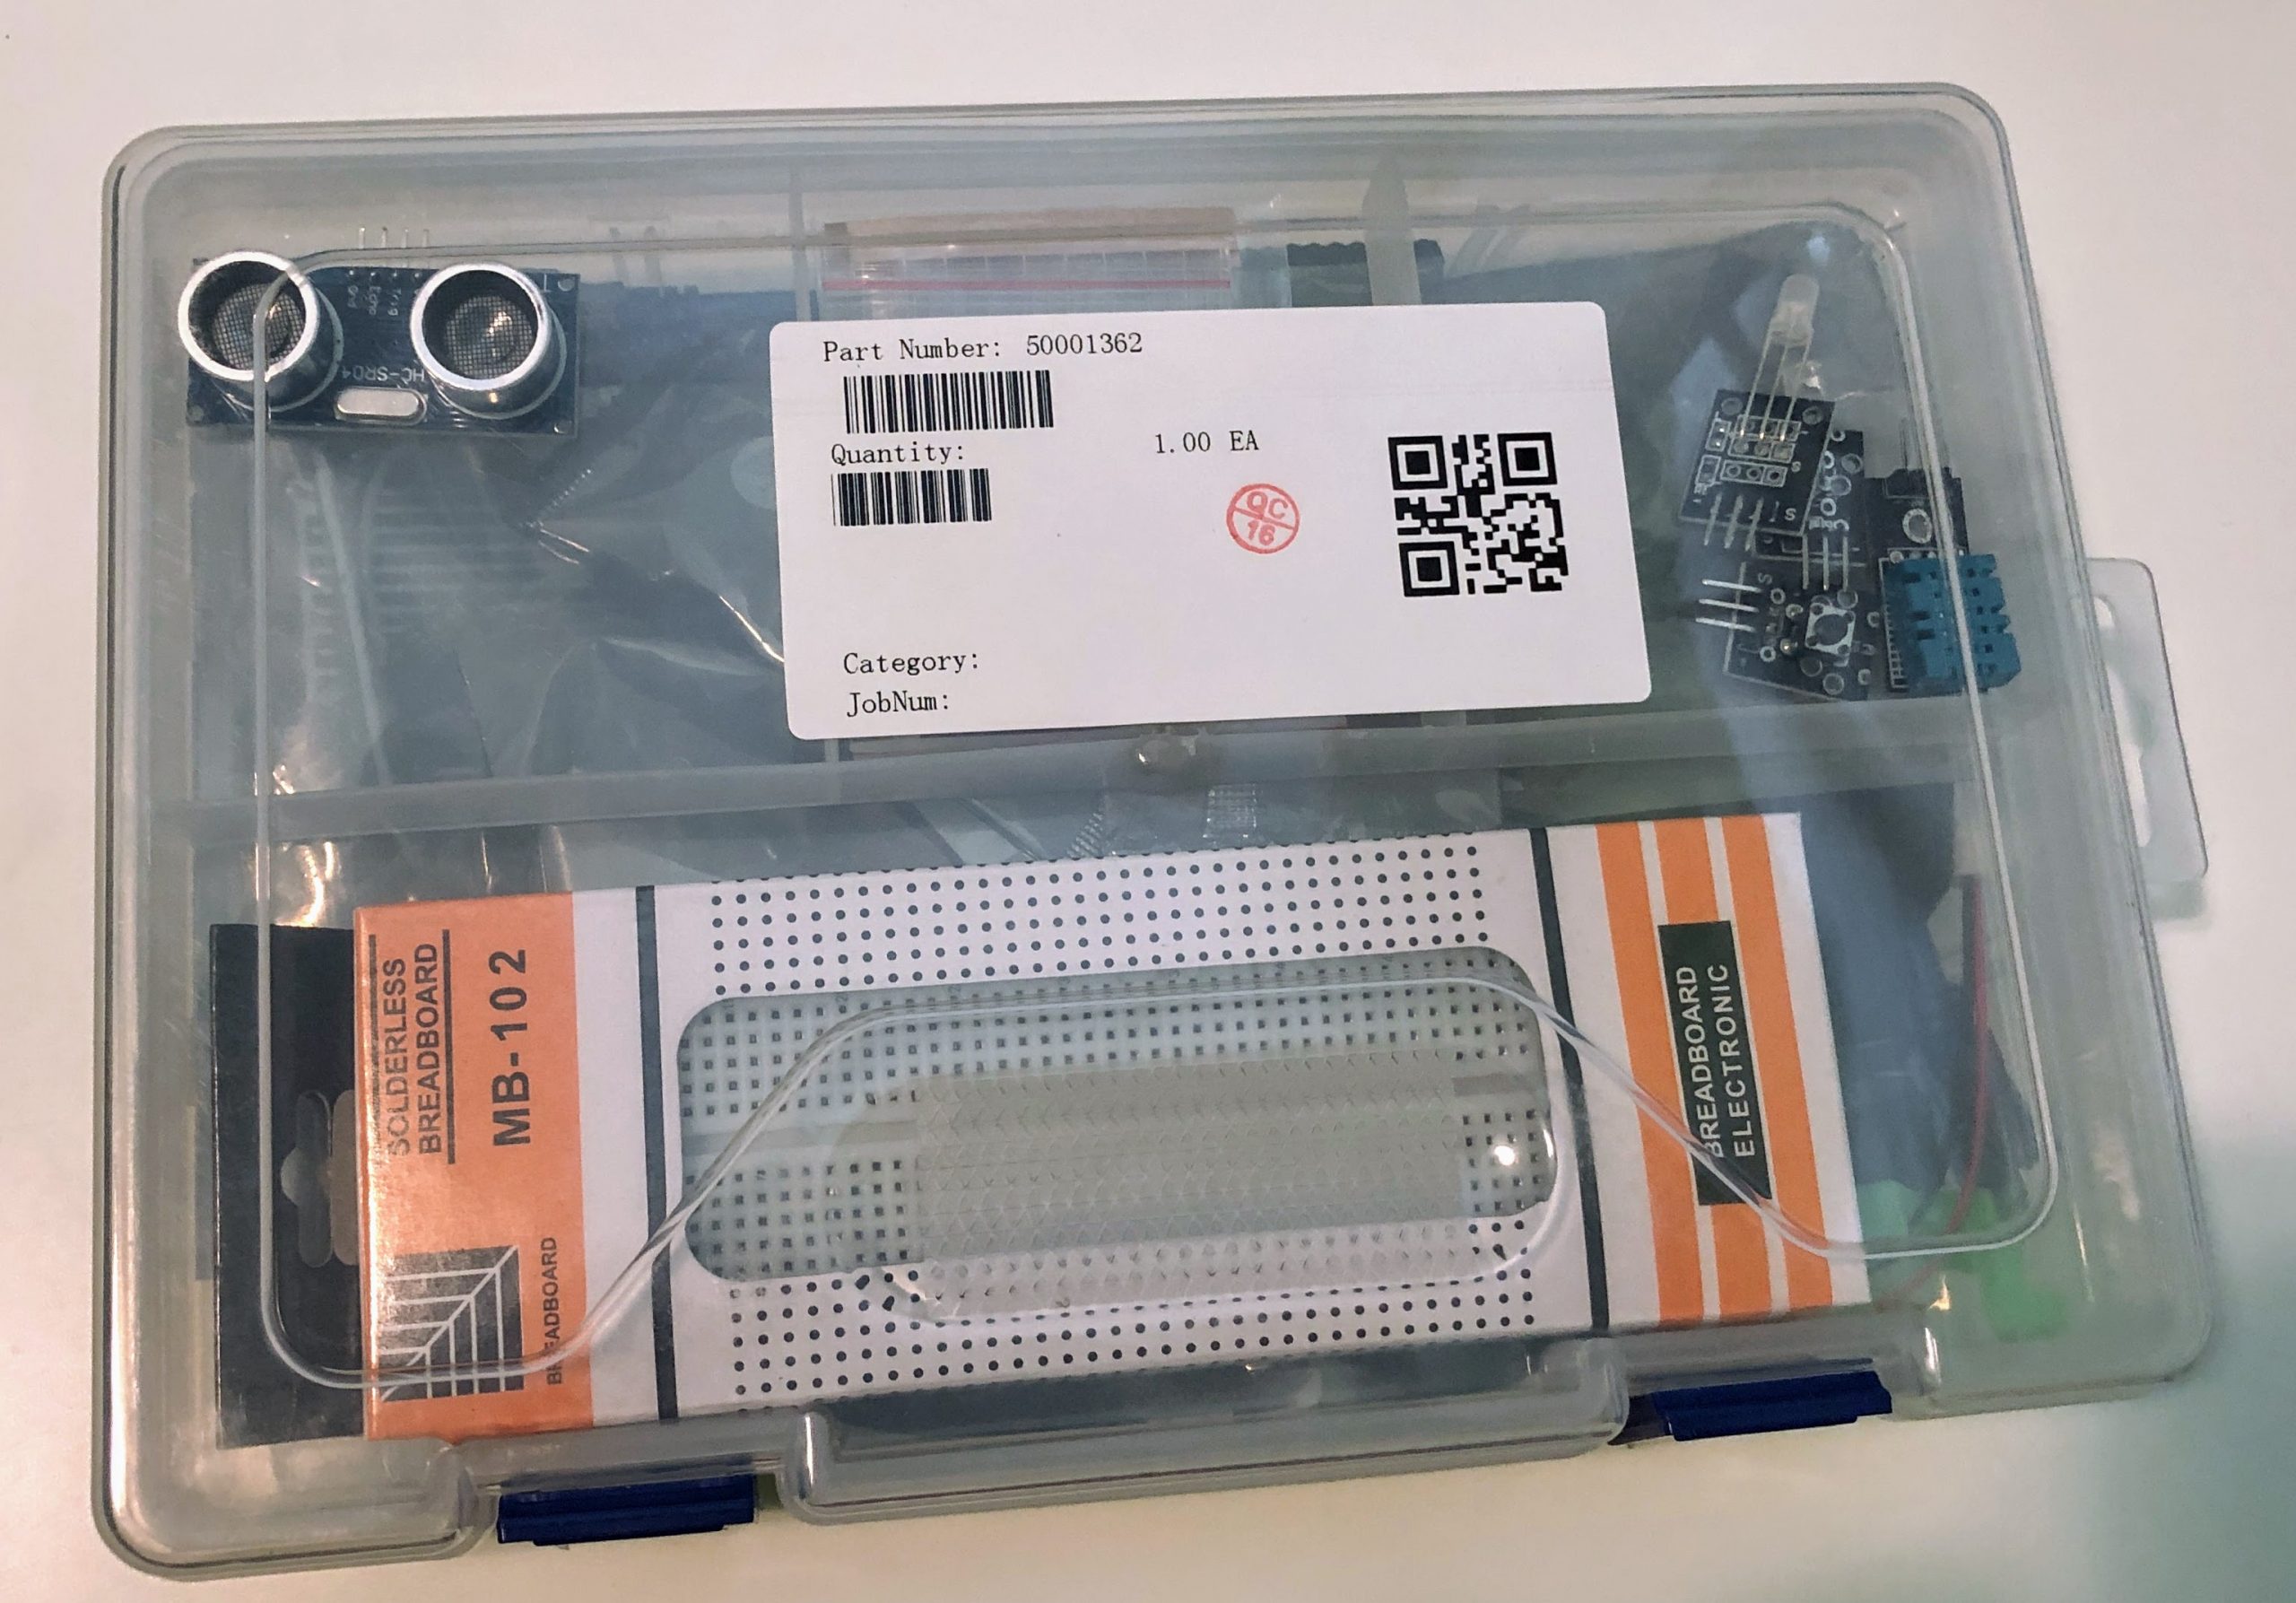
The kit arrived very quickly via DHL (took only a couple of days to ship to Western US), and was packaged very well.
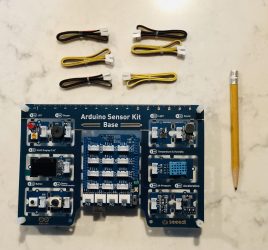
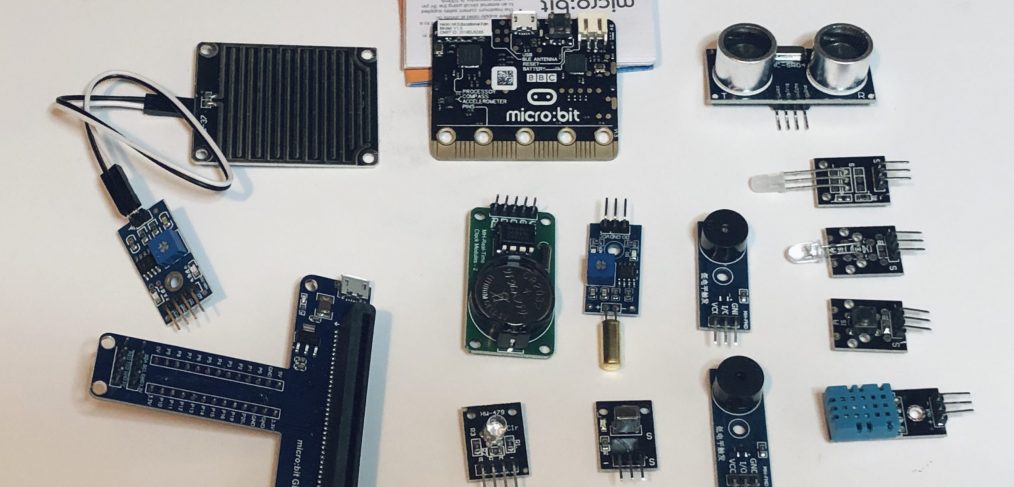
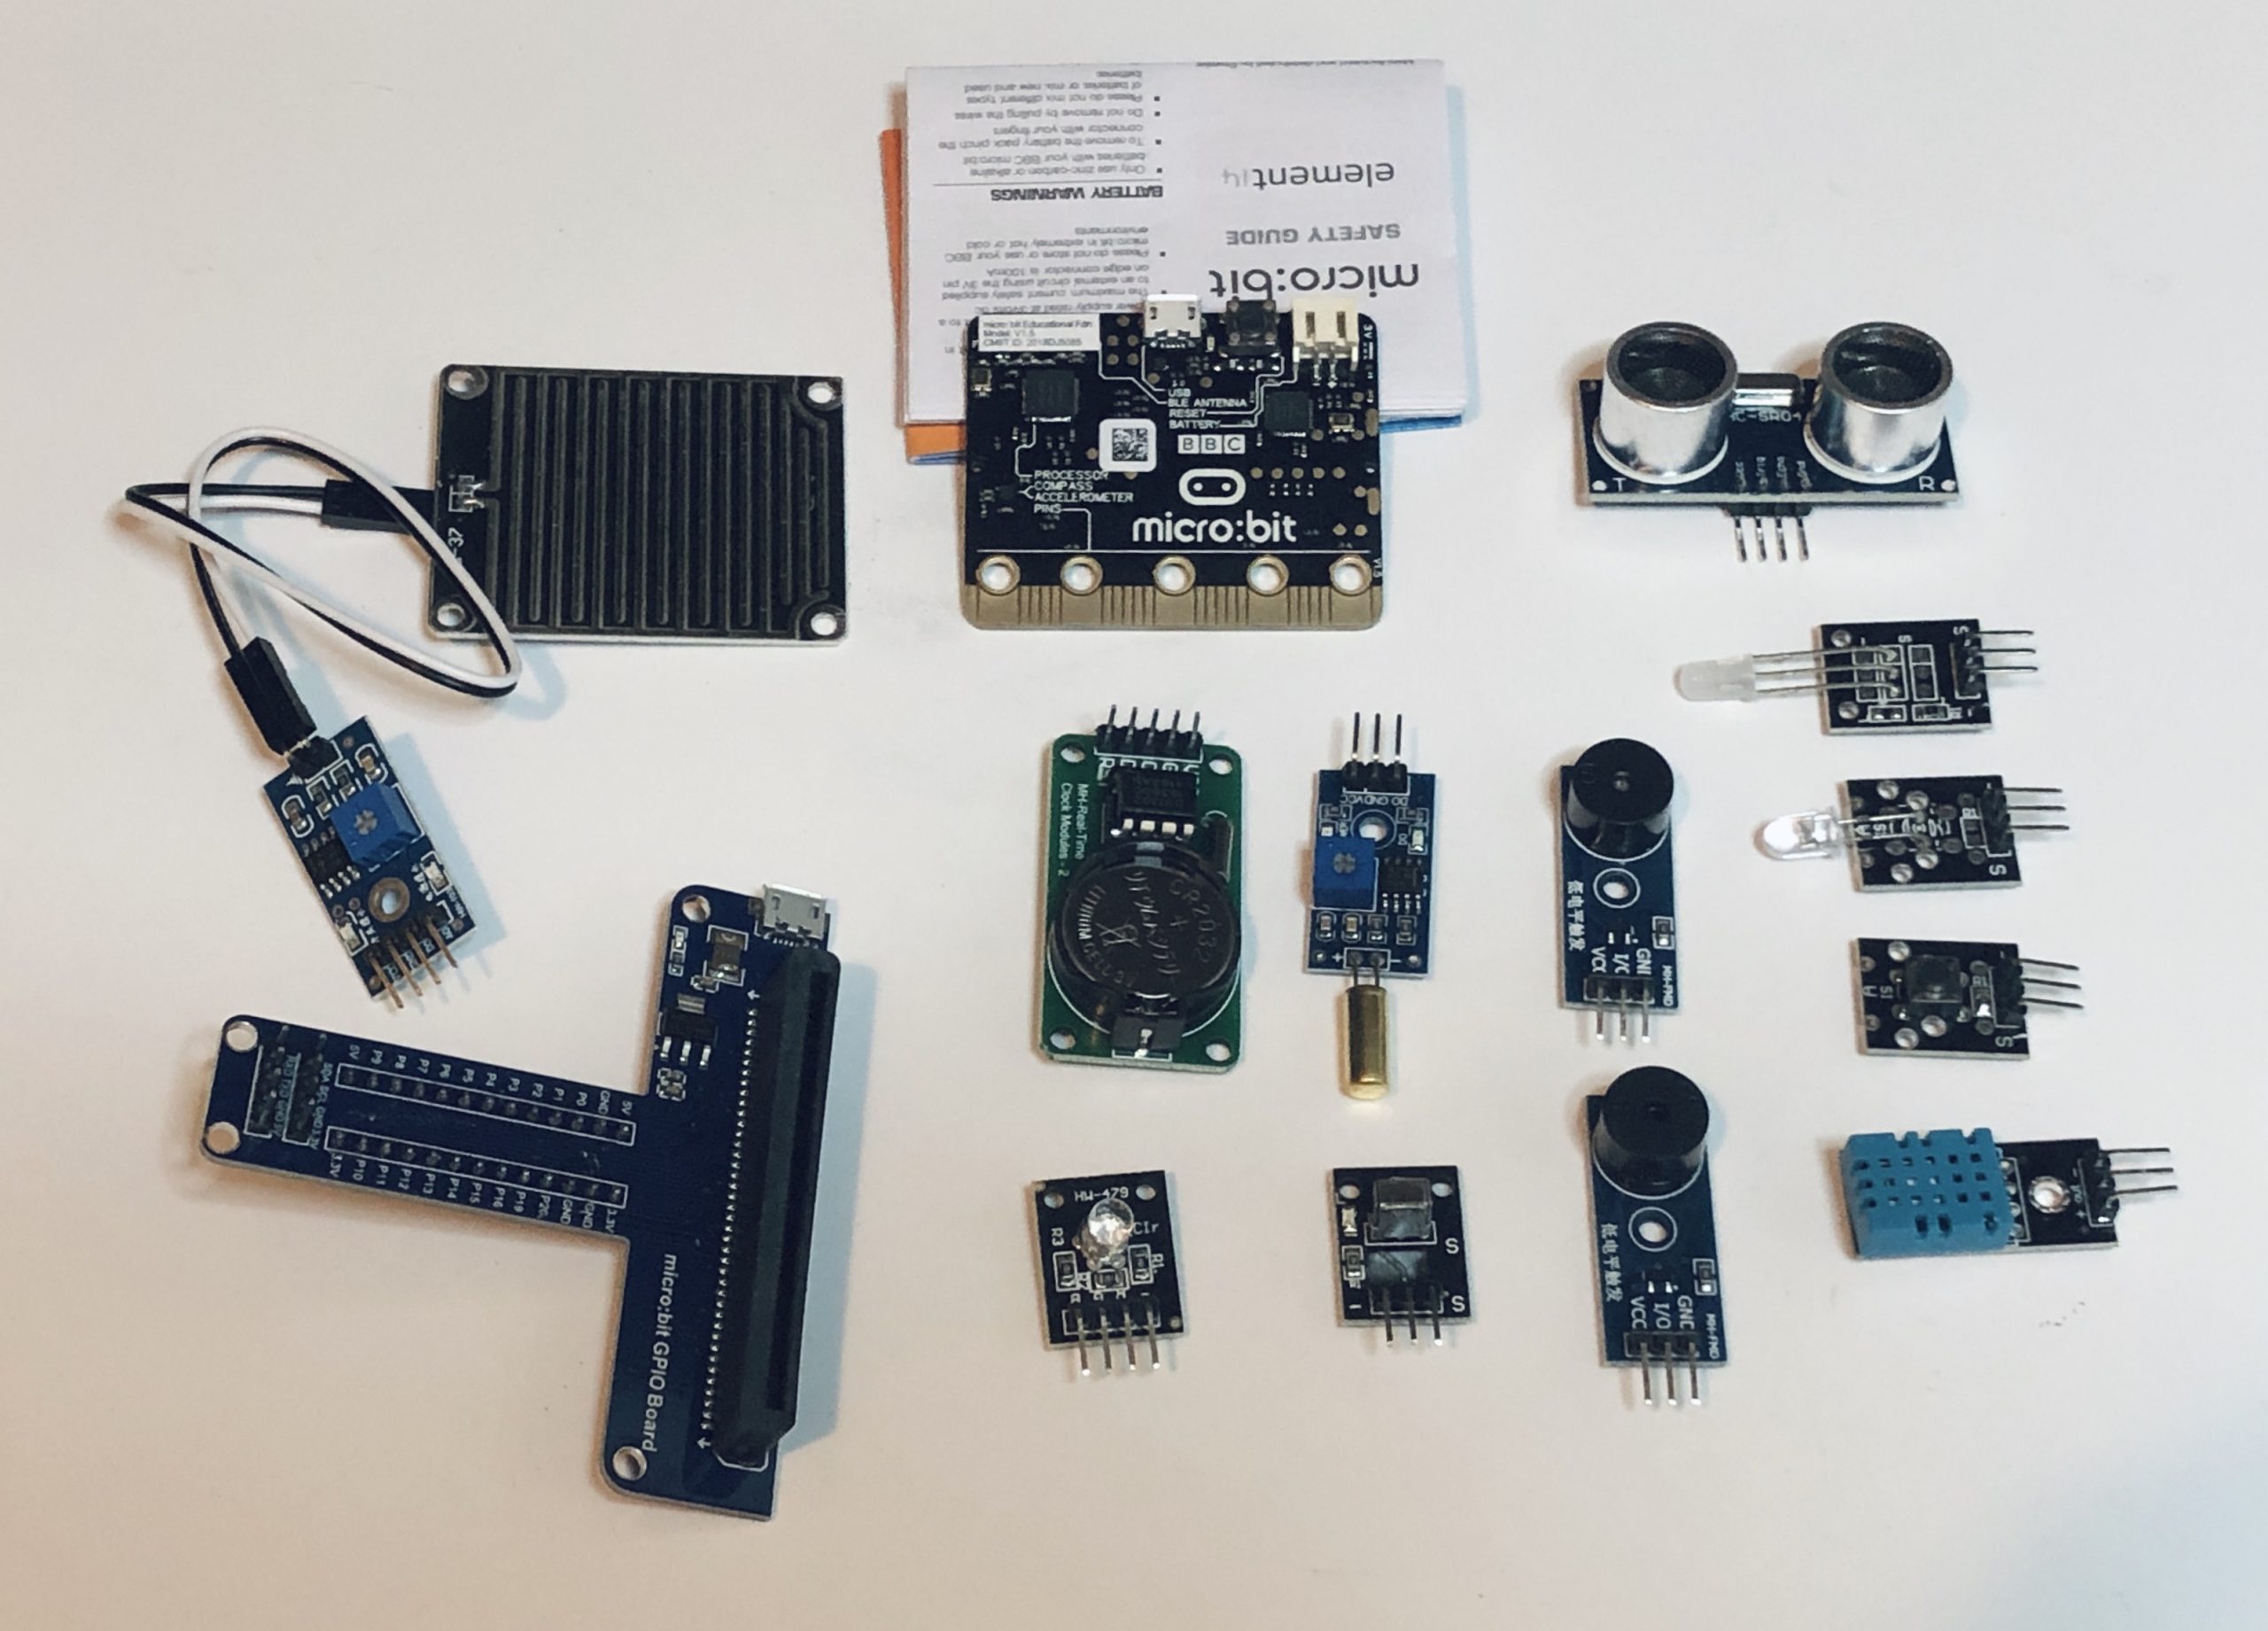
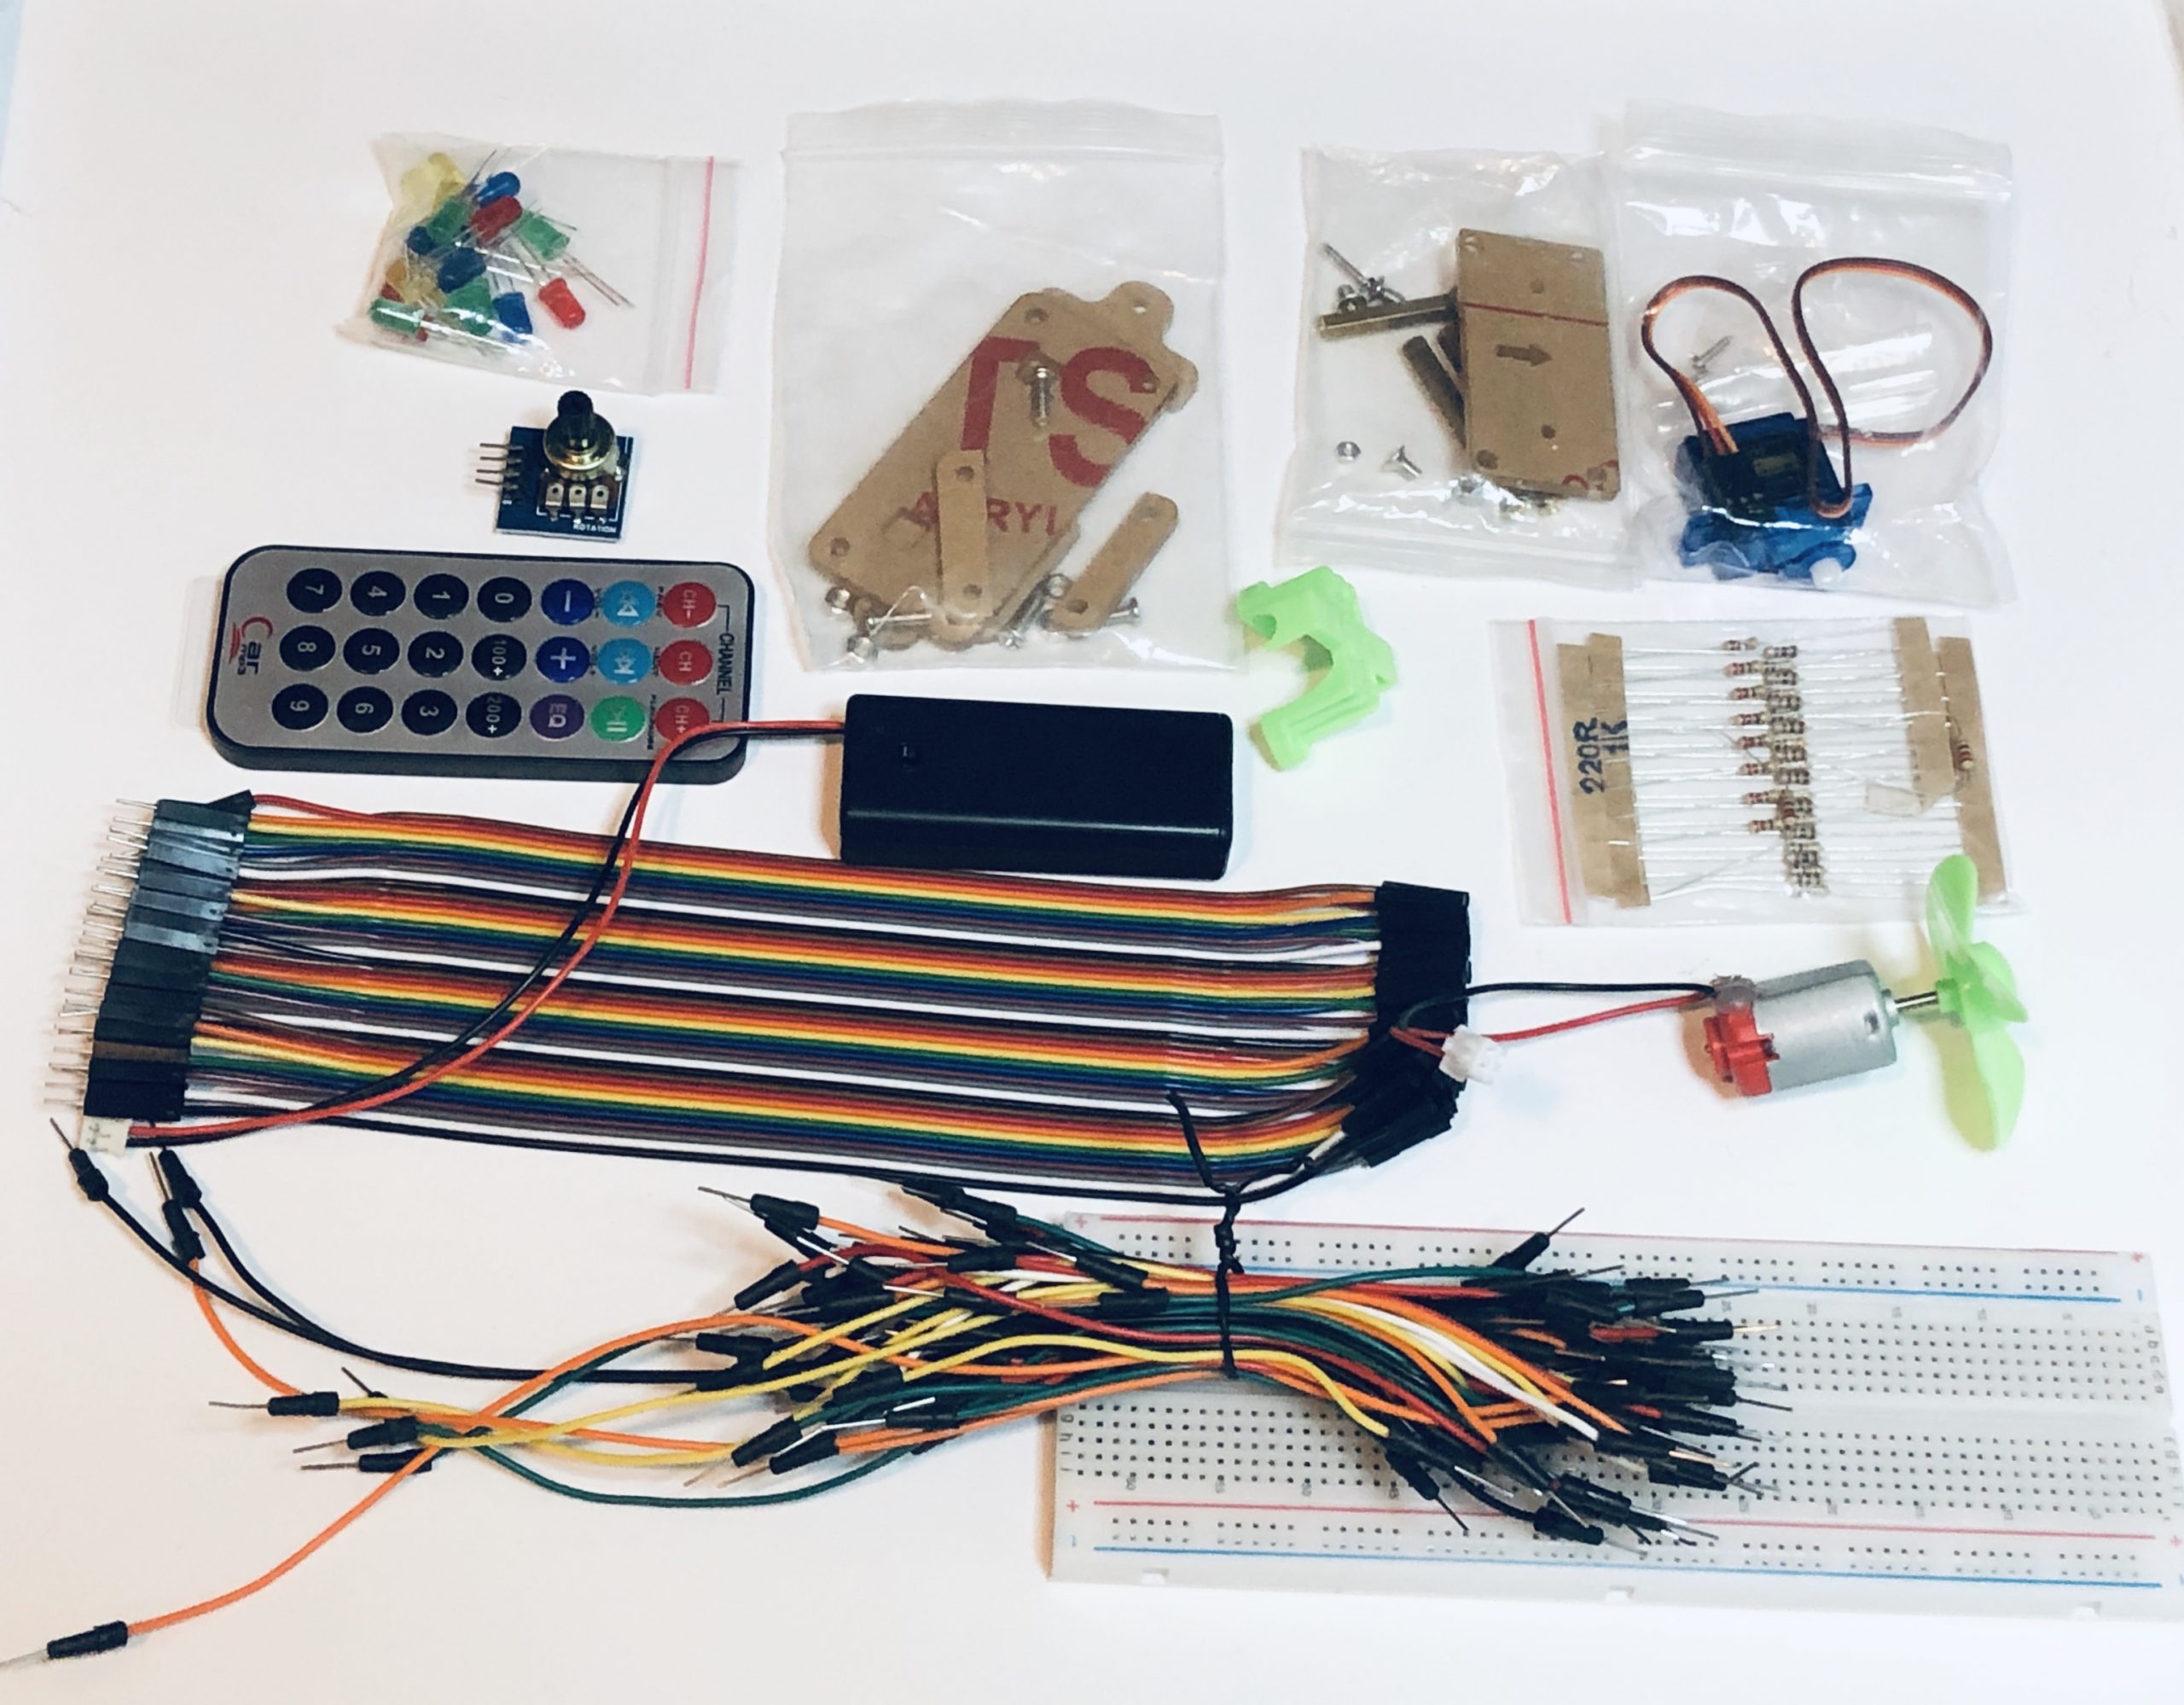
Inside the kit, you’d find a large variety of components compatible with the Micro:bit, making hundreds of fun projects a possibility!
Contents of the kit:
- Micro:Bit original board
- Connectors
- Prototyping board (breadboard)
- Wires for the breadboard
- Various Sensors
- Motors
- LEDs
- Resistors
Here are some pictures of the kit and its contents:

What can you do with it?
After getting the kit, I wanted to see if my 4 year old would be interested in using it with me, to learn basics of electronics and programming. I didn’t have any experience with Micro:bit before, but it didn’t take too long to find hundreds of tutorials online. Some simple projects are:
- Making LEDs blink
- Using internal sensors to control LEDs or motors
- Receiving button input and reacting to it
- Connecting sensors included in the kit and programming the board to work with them
My first stop was to look at the official Micro:bit website, which turned out to be a great resource:
https://microbit.org/projects/make-it-code-it/
Then, I started to look at MakeCode, a platform which offers easy way to build programs for Micro:bit via drag and drop interface. My 4 year old was able to make simple programs with some small help from me as well.
https://makecode.microbit.org/
After making a few dozen simple projects that didn’t involve any external components (just Micro:bit), I wanted to start experimenting with sensors included in the kit. Unfortunately there was not documentation provided with the kit. But it turns out there are lots of tutorials online if you know the types of components included in the kit.
One of sensors included in the kit is a ultrasound sonar sensor. I wanted to see how easy it would be to program the Micro:bit to work with it.
I used this program: https://makecode.microbit.org/60711-51180-32090-36697
And I connected the sonar in the following way:
- P0 of Micro:bit to “trig” of the sonar
- P1 of Micro:bit to “echo” of the sonar
- + to +5V of Micro:bit
- GND to GND of Micro:bit
Here’s the video of the sonar sensor working with the Micro:Bit :
Summary:
Overall, I am very pleased with the kit. The original Micro:Bit included with the kit, along with wires, breadboard, cables, makes for a great learning tool. The kit holds such a large variety of sensors, that there is a lot of experimentation and fun to be had.
Established platforms like https://makecode.microbit.org/ offer hundreds of easy – to – build projects and thanks to the resources available online, you can get started quickly!
Lack of instructions would make it difficult for inexperienced person to know how to connect and use the sensors included in the kit, but I hope the manufacturer would include that on their website soon.
Check out the kit here! Micro:bit kit from Digitspace.