In this blog post I will review Arduino Sensor Kit that I received from Seeed Studio. I found this inexpensive ($23) kit to be perfect for introduction to the world of Arduino and sensors and a great activity for parents and children to explore together. In order to use this kit, you will need Arduino Uno, computer to connect and program the Arduino from,
What is Arduino Sensor Kit?
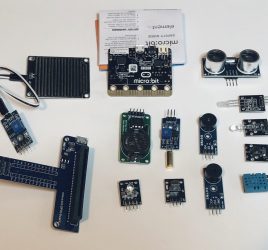
In their own words, Arduino Sensor Kit integrates the 10 most popular modules and sensors onto a single board, providing plug-and-play convenience without the need for any soldering or wiring. The kit contains a base shield featuring the following modules that can be connected either through the digital, analog, or I2C connectors:
- An OLED screen
- 4 digital modules (LED, button, buzzer and potentiometer)
- 5 sensors (light, sound, air pressure, temperature, and accelerometer)
Just plug the Arduino Sensor Kit into the Arduino UNO, then you’re ready to follow the Plug, Sketch & Play online lessons that make getting started a breeze.
Let’s go from unpacking to using the Kit!
Unpacking.
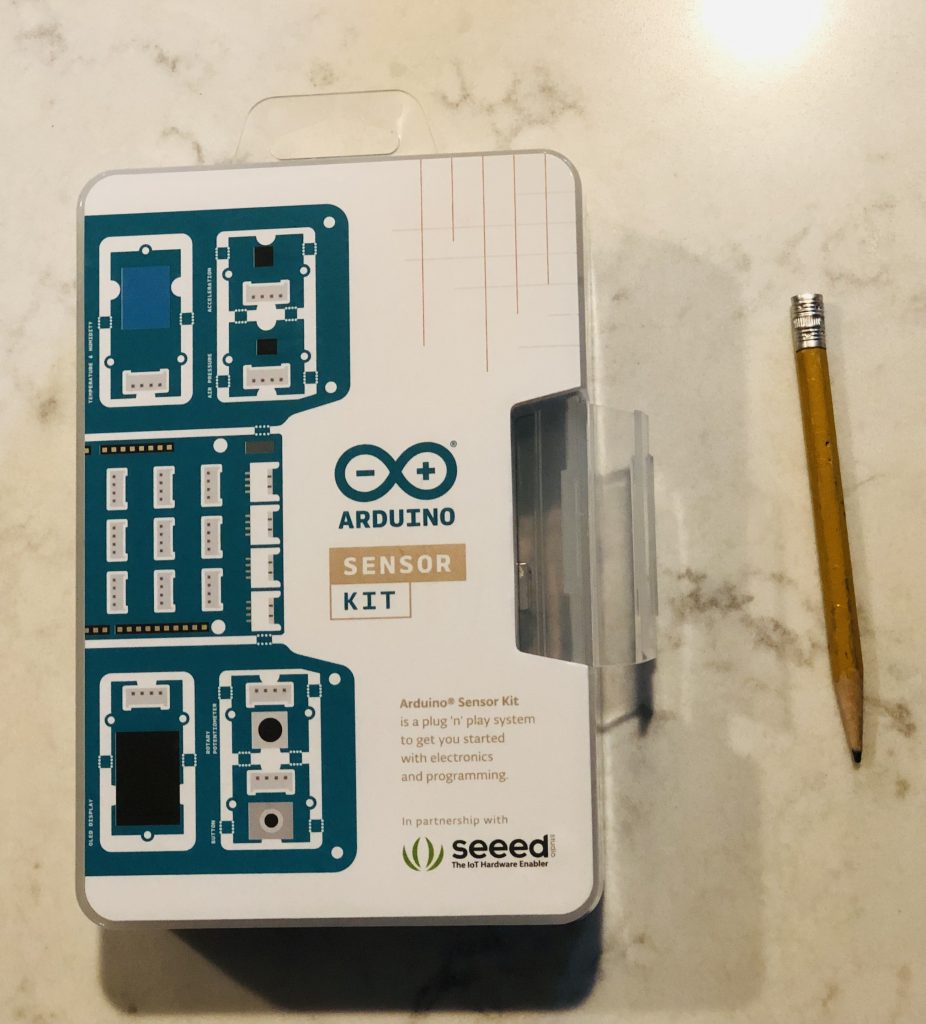
The kit comes inside a box that keeps everything together. The box is big enough to store Arduino and some accessories in addition to the included sensor kit:
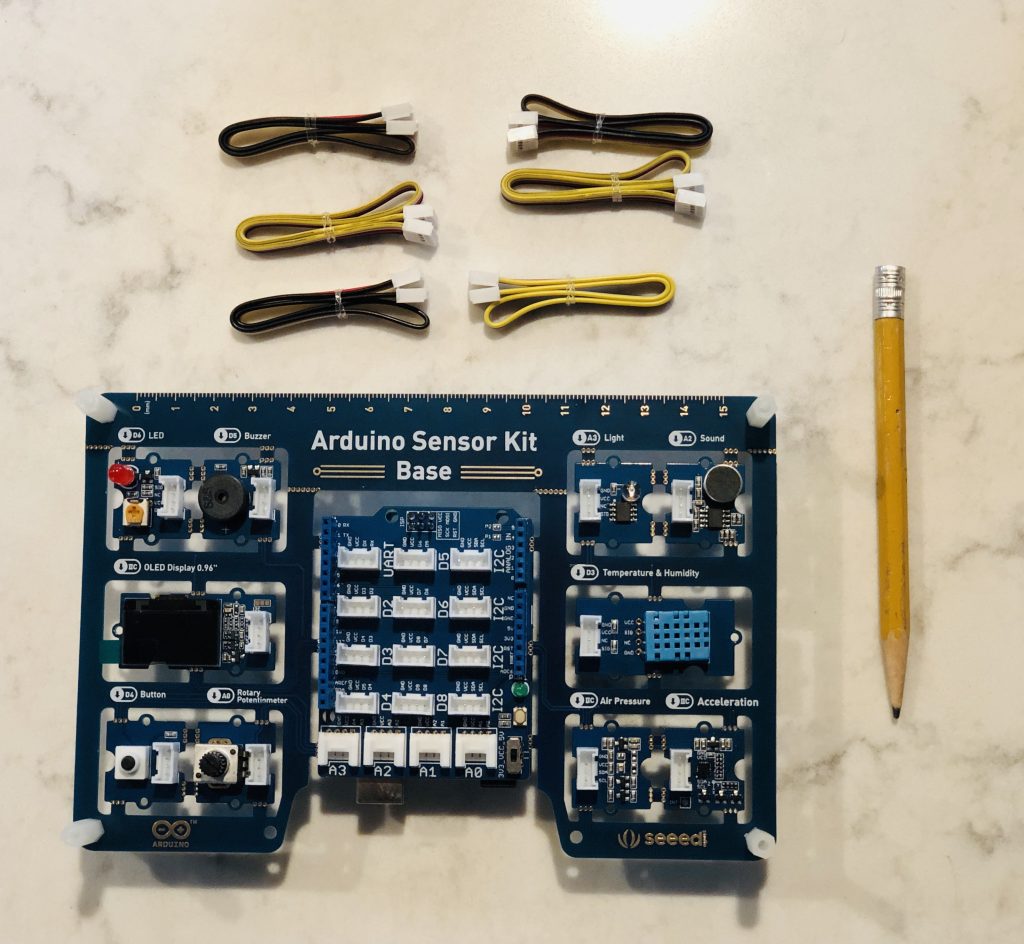
Inside the box, there are 5 ribbon cables and the sensor kit components / base attached to a single piece of circuit board material:
While you can use the kit like this, I decided to separate all sensors and the base from the single piece of circuit board. For that I used some small pliers and cutters and snapped the little tabs attached to each sensor:
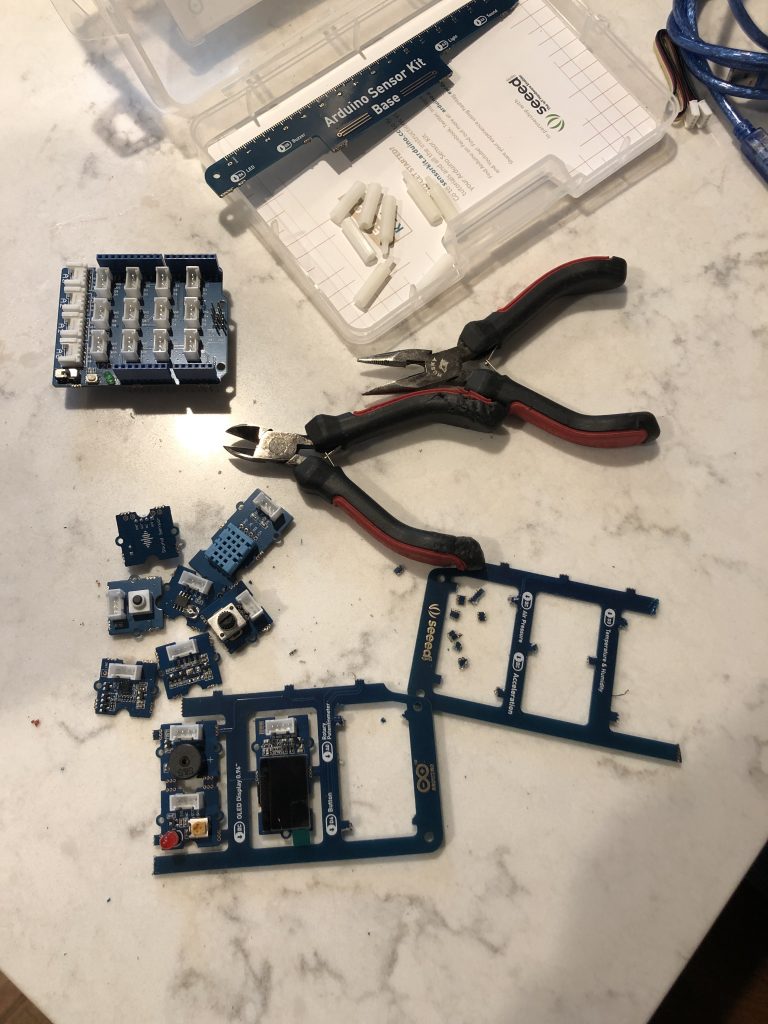
(That step of separating the pieces is optional)
Setup
In order to setup the kit, you have to connect Arduino Uno (not included in the kit) to the base shield (biggest piece of the kit). Then, before connecting the Arduino to the computer, you have to review installation instructions and programming guide on getting started page of the Sensor Kit website: http://sensorkit.arduino.cc/
In my case, I had to install the Arduino Sensor Kit library, but after that I encountered a problem. My Arduino IDE was outdated, so it did not automatically install all other libraries that sensor kit library depends on. I went ahead and installed those as well before I could use the sensor kit in Arduino code. You can see the list of those libraries on Sensor Kit library’s Github page: arduino-libraries/Arduino_SensorKit
Otherwise, I was getting errors like this when trying to upload sample code:
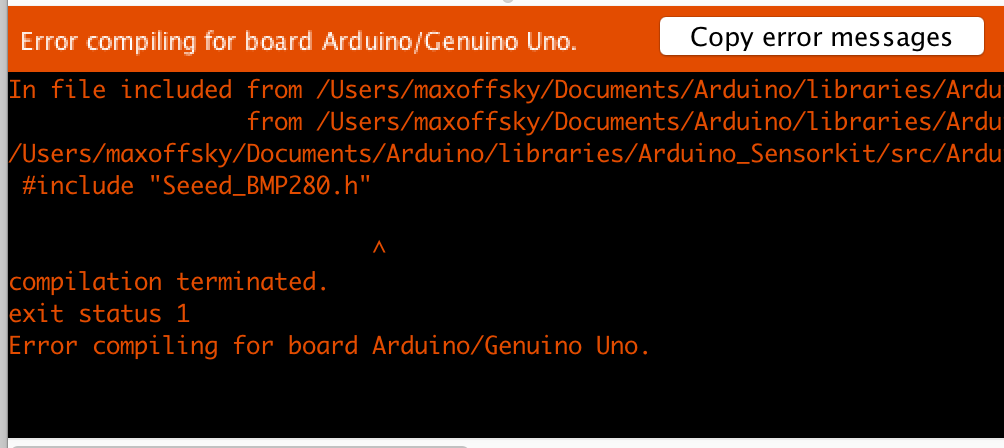
After all libraries were installed, I had no problem running sample code.
Coding and testing with kids!
I had 2 kids (5 year olds) with me while exploring the sensor kit. We successfully ran all sample code and the kids enjoyed learning about each component of the sensor kit. The Sensor Kit website has the following lessons that you can go through:
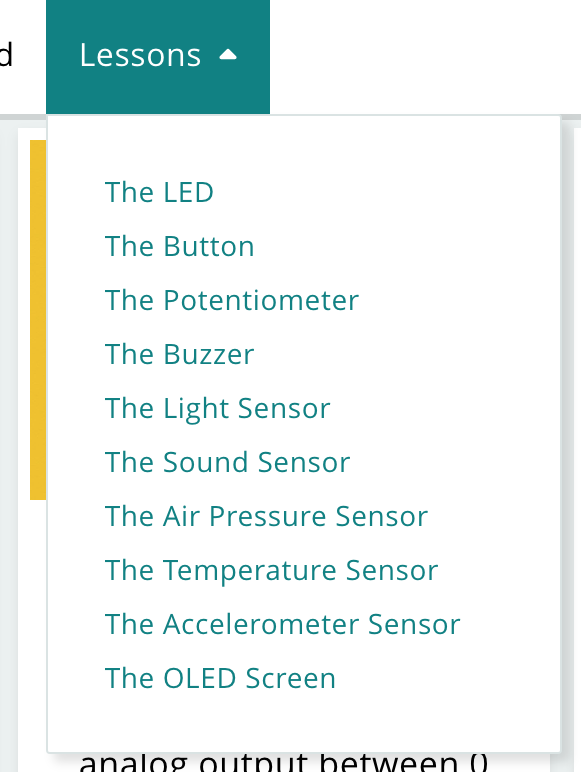
The documentation for each lesson was very clear and had excellent simplified explanations about what each sensor does and how it works. The temperature sensor was especially fun to test because the kids would see results changing when they hold the sensor in their hand. The buzzer was also great to test because we could change the pitch and the duration of the sound, and even make simple songs. You could even get fancy playing songs from this Github repository on the buzzer: https://github.com/robsoncouto/arduino-songs
The light sensor worked great as well and we were able to use Arduino Serial Plotter tool within Arduino IDE to see how the sensor values change depending on the flashlight direction:
The next step for us to explore would be to connect multiple components / sensors and make them do something interesting. For example it would be great to read temperature values and display them on the OLED display included in the kit. Or read light brightness values from the light sensor and turn on the LED when the brightness is higher or lower than certain level.
Verdict:
The Arduino Sensor Kit from Seeed Studio is an excellent and affordable sensor starter kit for learning about each sensor included in the kit. The instructions are very clear and explain about each sensor in sufficient level of detail. I enjoyed using this kit with kids and we all learned something new from using it.