10 Uses for Raspberry Pi Zero, part 2
In part 1 of this series (which you can find here) I went over these 4 uses of Raspberry Pi Zero:
- Running a web server
- Connect IoT devices with MQTT
- Put Raspberry Pi Zero on a drone
- Make a smart art frame displaying images, video or WebGL content
This post will bring up another 4 interesting examples of using Pi Zero. You might enjoy these ways of using a Pi Zero and if you do, please let me know in comments!
Let’s start with an easy example.
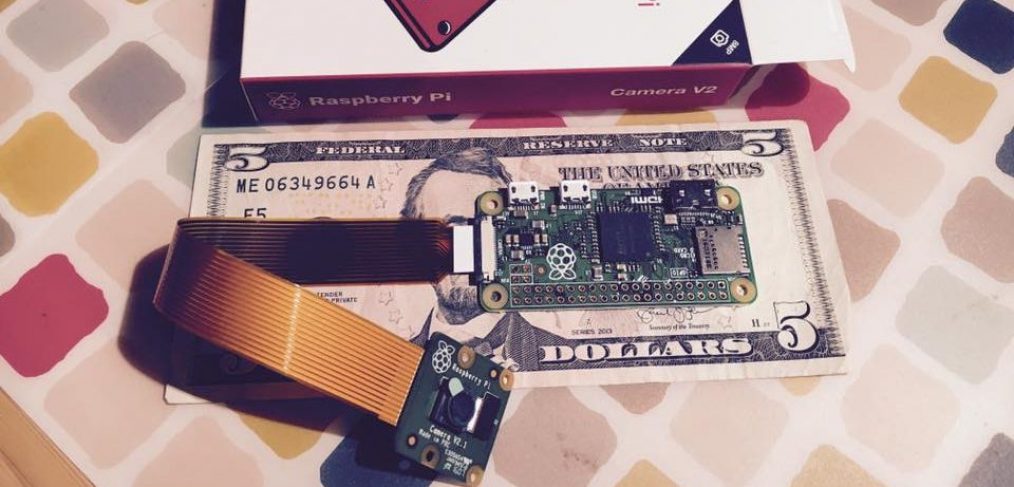
5) Build a security camera.
As soon as I got the Pi Zero and a Pi Camera V2, I wanted to create a security camera that would stream video to my phone 24/7. A few minutes of searching online brought me to a few open source projects that can be installed on Raspberry Pi to turn it into a full fledged security camera. Each of these projects have their pros and cons in terms of features and ease of installation. These are the projects that I recommend if you are building a security device based on Raspberry Pi Zero:
- RPi Cam Web Interface, available at http://elinux.org/RPi-Cam-Web-Interface. This project is well documented and worked like a charm on my Pi Zero out of the box. It features camera controls, recording HD video, live preview, motion detection, scheduling, pan & tilt controls and much more. There are plenty of tutorials on how to configure this project on your Pi, but this tutorial over at Element 14 website has it covered in detail.
- Motion Eye OS, available at https://github.com/ccrisan/motioneyeos. This is a Linux distribution that contains full surveillance system (backend and frontend) and can be easily put on a Pi Zero via SD card image. This system uses Motion, software that detects motion and activates the camera based on threshold that you provide.
- Kerberos.IO, available at https://kerberos.io/. This is also a Linux distribution that contains everything you would need to build a video surveillance system. It comes with a simple interface and allows you to browse history of recordings and relevant statistics about them.
- StreamEye, available at https://github.com/ccrisan/streameye. This is just an MJPEG streamer that is easy to install and will make it possible for you to write your own backend and frontend to process the video stream.
I have installed RPi Cam Web Interface on my Pi Zero and it has been running amazingly well ever since. I also tried building my own React Native client that displays MJPEG stream from my Pi Zero and that also worked well enough to be useful.
Also if you own a 3D printer and want to print out a case for your camera and Pi Zero, try this one: http://www.thingiverse.com/thing:1592151 (Pi Zero Camera Case & Stand).
6) Make a Nixie Clock or Nixie number ticker.
If you have never seen a Nixie clock, it is a clock made of 4 or 6 Nixie Tubes. These tubes are old cold cathode displays that are no longer manufactured but are still available on eBay and through some online vendors.
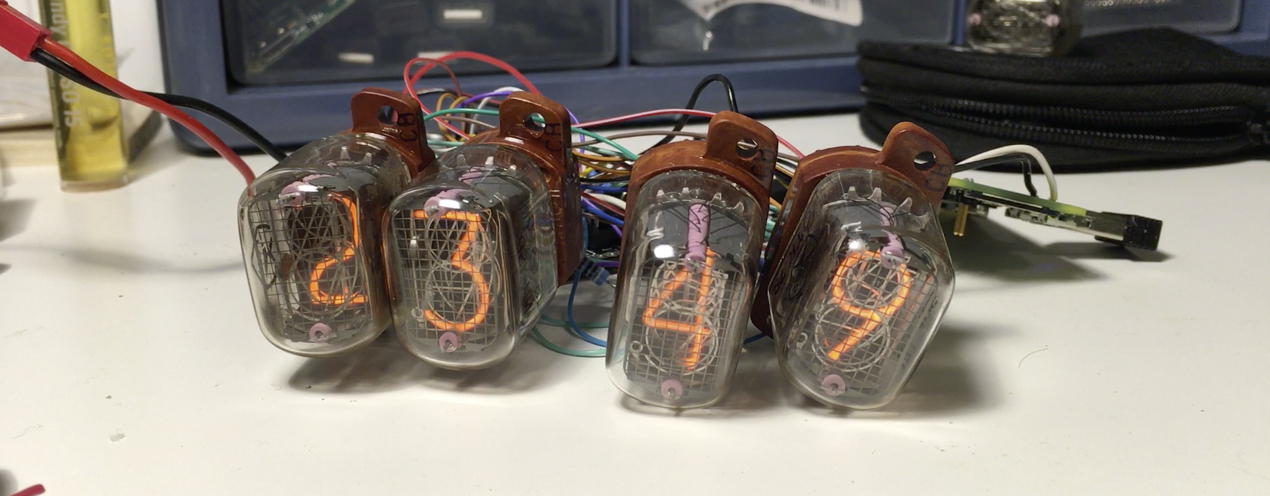
Nixie Clock built with Rapsberry Pi Zero
I am in process of making a Nixie clock and you can follow my progress on Hackaday at https://hackaday.io/project/16467-raspberry-pi-zero-nixie-clock.
To make a Nixie clock you would need a Nixie tube driver like Arduinix (from http://arduinix.com/), 4 or 6 Nixie Tubes like IN-12 and some soldering to put everything together.
What is nice about using a Pi Zero is that you can make your clock always synchronized to an atomic clock and you can use Pi’s IO to display readings from various sensors (humidity or temperature for example). What I found when building such a clock is that the whole setup consumes very little power, about 3.6-3.8 Watts:
Of course it doesn’t have to be just a clock, you can also show any other stats on it, making it a very hipster numeric display for a coffee shop or restaurant.
7) Drive a 3D printer.
If you own a 3D printer, using Pi Zero can save you hours upon hours of time, simplifying uploading 3D models, slicing and monitoring the progress of a print.
There is an exceptionally well made open source project that is a drop-in image onto the Pi, making this a quick and fun improvement to your 3D printing hobby. The project is called OctoPrint and is available at http://octoprint.org/. With OctoPrint running on the Pi, you can also stream a live video of your print and record a timelapse of it for later viewing if you have a camera connected to the Pi.
There is a detailed tutorial on how to get OctoPi running on your Pi Zero: http://dabbletron.com/how-to-run-octoprint-on-a-raspberry-pi-zero/.
Don’t have a 3D printer? Get one! They are cheaper than ever, I got mine on Amazon for around $340 but you can now get the same one for $259: http://amzn.to/2fCP7QD.
8) Build an electric skateboard.
There is a huge market for electric skateboards. Boosted Boards, Yuneec, Blink Board all sell great electric skateboards with prices $500-$2000. Instead, you can make your own and have a ton of fun in the process.
TheRaspberryPiGuy on Youtube has spent a month building a very powerful and cheap electric skateboard and you can enjoy the fruit of his work in this short video:
The components for the board are simple enough and affordable enough that make such a project really attractive for an intermediate level hobbyist.
Conclusion: It seems that there are almost unlimited powers for a $5 device. More and more I get convinced that 2016 was a really good year for IoT and single chip computers. Pi Zero has proven itself over this year as one of the greatest little computers, capable of many things!
In the next post, I will show you two more great uses for your Pi Zero!
Please read Part 3 here!