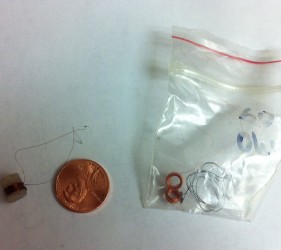
Wind your own coils quickly
I posted this as instructable at instructables.com/id/Wind-your-own-coils-quickly/
Ever needed to wind a coil quickly?
Coils can be used to make actuators, electromagnets, and even to communicate energy!
I use small copper coils in my micro RC airplanes and I wind my own coils quickly with this tip. (See some of the planes I built on my blog https://maxoffsky.com/tech-blog/rc-micro-spitfire-airplane-build-log/)
You will need the following :
+ A drill
+ A thin file (will be the width of your coil)
+ Superglue
+ Cylindrical Wax candle about 8-10mm in diameter (should be bigger than diameter of desired coil)
+ Thin copper wire (you can salvage some from old relays or 1$ mechanical clock found in 99 cents store or Dollar tree).
The making of a coil involves a few steps:
1) making a former out of the wax candle (a template that will hold the wire)
2) wind the coil using the drill and superglue
3) dissolve the wax in hot water
4) use your new coil!
TIP: put the candles in the freezer before you do this, so that they don’t melt too quickly while you are working with them.
Let’s start with step one :
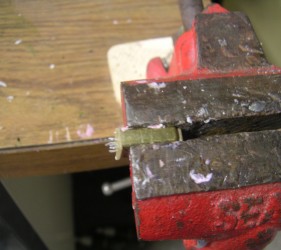
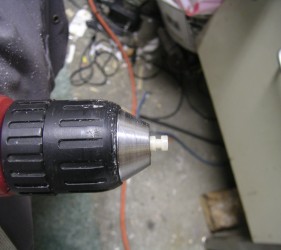
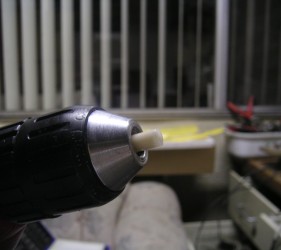
Take the cylindrical wax candle and put it in the drill like on the second picture, secure the wax candle in the drill.
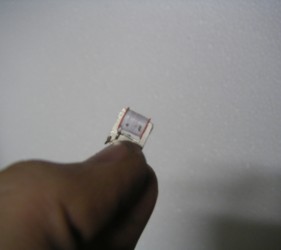
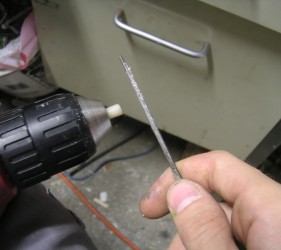
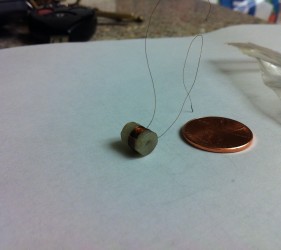
Now, you need a file and while the drill is spinning you will file away the wax to make a desired shape former. I found out that it works better if you heat the file up a bit and use it immediately while it is still warm. I make a template like on the last picture, so in the profile it looks like letter H where your wire will go.
Do not take the candle out of the drill.
Now that the filing is done, for step two hold the wire bobbin somewhere so that it spins freely, you are about to unwind the old relay wire or the clock wire. You need to secure the other end of the wire on either end of the candle, for example with scotch tape or just on the tip of the candle. I usually make a knot inside the filed-out former and secure the end of the wire to the candle making sure it will not be too short for my application. Now you can do a few rounds of the wire with the drill (put it on the lowest speed) and when you have 10-20 rounds, put a drop of CA glue (AKA superglue), then continue to wind the coil using the low speed setting on the drill. Make however many rounds you need making sure that the glue is still distributing inside of the former and that the coil has enough glue.
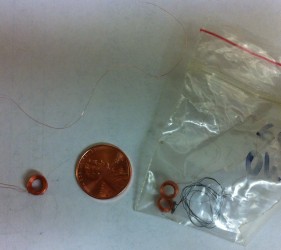
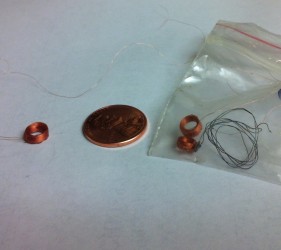
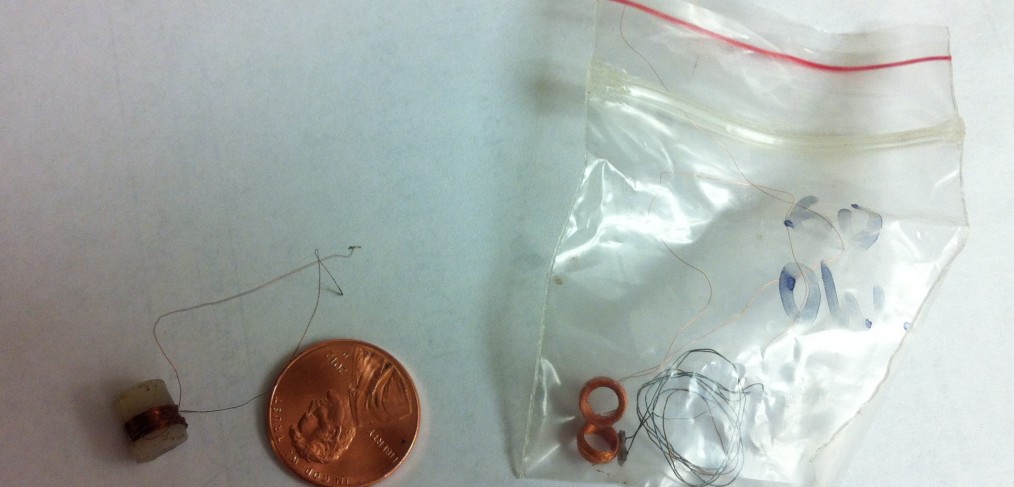
Now that the coil is wound, you need to let the glue dry for a few minutes. When the glue is dried, cut out the other end of the wire apart from the wire source (the bobbin of wire), get the candle out of the drill, cut the former that has your coil and put it in hot water to melt away the wax. When the wax is melted, you will have a nice looking coil, ready to go into your projects!
Enjoy and let me know if you have any questions. If there’s enough interest I will put up a video and a better way to make coils!

